
So this is the bag I made for my Tarot deck! Since I have kind of started a Tarot group with my friend, my other friend asked me to make one for her deck. I decided to make a tutorial for you guys!
When I was looking for easy diy Tarot bags, I felt like there weren't a lot of resources, and most of them were drawstring, which wasn't what I wanted. So while I was driving one day, I realized I could make them like this. I hand-stitched my own, and used a machine on the one for my friend. I hope this is helpful for people who want to make a cozy home for their decks.
Materials:
1/8 yard of outer material (regular ol' fabric, or heavy duty stuff in case you're worried about it ripping. I used standard cotton, and its held up so far.)
1/4 yard of liner material (I recommend something silky so that the cards slide easier.)
Scissors
Thread
Needle or sewing machine
Ribbon (Something thin)
Pins
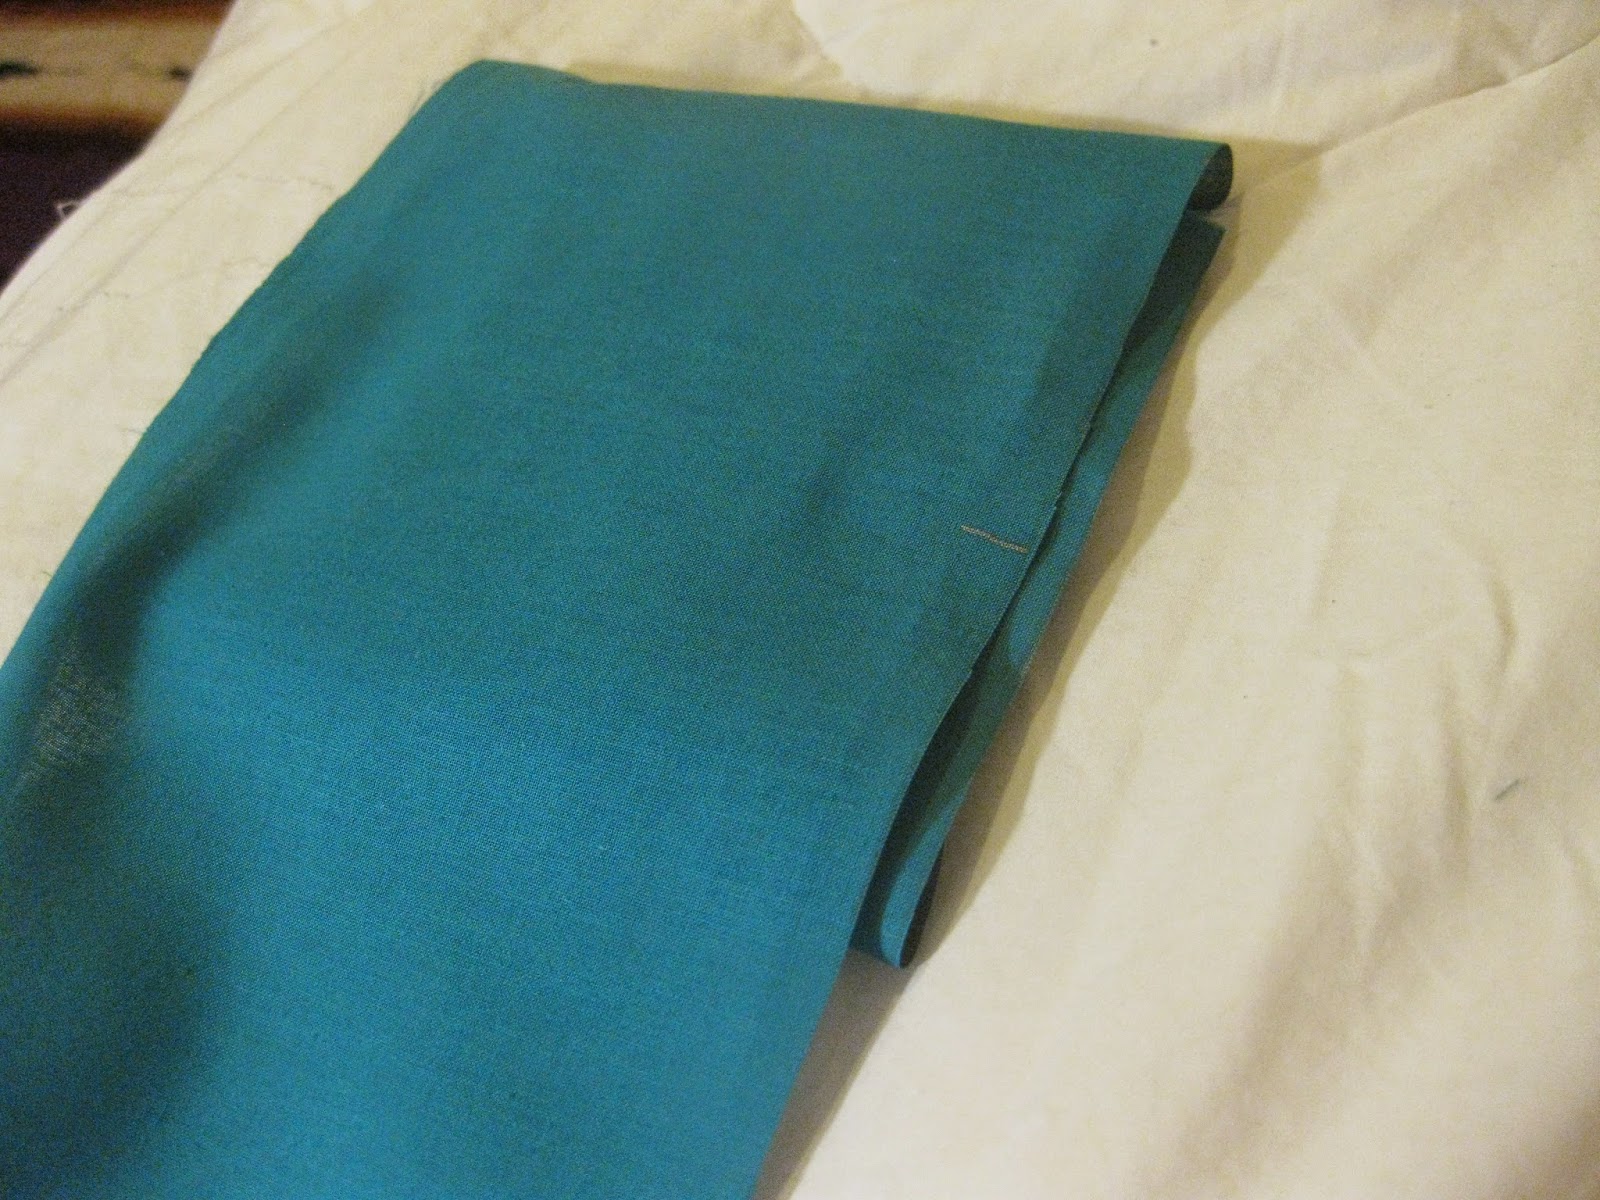
Step One: Find some cute fabric! My friend got hers at Walmart, with the blue material being a dollar, and the liner was two.

Step Two: Place your deck on the outer material, wrong side up. You want to make sure the deck will fit. For this one, I folded the fabric so it covered half of the deck, and then marked it. You might want to fold it over more for a wider bag if you plan on keeping a spread cloth or crystals in the bag.

Like so
Step Three: After marking the spot on the fabric, take a ruler or other straight thing and make a straight line up the fabric so you have a line to follow while cutting. Cut out the fabric.

Step Four: Once you have a long piece of fabric, you wanna take your deck and lay it on the fabric, kind of near the middle. Fold the bottom of the fabric up, so it covers the deck. Take the top part of the fabric and fold it down over your deck. This part will be the top 'lip' of the bag. Mark the fabric where you want the lip to come down too. I usually have the lip cover the top half of the deck, but you could make it longer if you want.
You can kind of see where I marked it in silver sharpie
Step Five: Cut off the excess fabric, so you just have the fabric for the bag. Then pin the bag fabric to your liner fabric, with the right sides together.

Step Six: Cut the liner to match the bag fabric. Then if you want, cut yourself a cute lil' spread cloth out of the remaining liner material.


Step Seven: Stitch the bag fabric together on the long sides and one short side

Step Eight: Flip the bag inside out, so now the right sides are facing out. Then flatten it with an iron if using a machine, or just manhandle it a little.

Step Nine: Tuck in the raw edges of the open side, and stitch that shut.

Step Ten: Grab your deck again, and place it on the liner side of the bag fabric, and then fold fabric up to cover the deck. Mark it with a pin, remove the deck, and flip it so the liner side is out. Pin the sides together.You should see the bag begin to take shape now.

Step Eleven: Stitch up the sides, liner side out. Flip it inside out so the liner is now inside the bag.

Step Twelve: Cut off a long length of ribbon, and pin it to the lip of the bag. I put mine about 3/4 of an inch up from the bottom of the lip.

Step Thirteen: Stitch a line down the ribbon, and backstitch over it again to make sure it stays attached.

Step Fourteen:Wrap your deck in your spread cloth, and put it in your bag. After that, wrap your ribbons around the back, and tie them in front. Trim off the excess ribbon, after making sure they are even on both sides. The bottom three pictures are to help see how to ribbon will look after its tied and cut.


And that's it! I know it seems like a lot of steps, but it really is simple, and doesn't take long to make them. I've had mine jumbled around in my purse since November, and its held up really good thus far.
I hope you enjoyed this tutorial! Let me know if you have any questions.

Only recently stumbled into this blog. Still, thank you for the tutorial! Even I think the drawstring ones aren't my thing: it gives the cards enough space to move around and I fear it may get damaged since I plan on bringing it with me anywhere I go. Now my cards would have a place to stay in.
ReplyDeleteThanks for this. I saw it today and just got right to it with making my own!
ReplyDeleteCan u make a video. I learn better that way
ReplyDeleteI'd like a video too, not understanding too well
ReplyDelete