Showing posts with label Pagan Crafts. Show all posts

Wednesday, July 8, 2015

Thoughts on Respect and Offering Ideas

I have discovered that a lot of my practice is based on the idea of honoring and respecting myself as well as the God/Dess, spirits, and ancestors. The ancestors one is especially important to me, because without them I would not even exist. I spend a lot of time lately thinking about how I am connected to to them as well as to other spirits, and I always feel that they deserve a lot of respect.

It is strange to me to watch a show such as Ghost Adventures (my guilty pleasure) and see how they try to contact spirits around them. A lot of their tactics involve yelling or threatening spirits, and I feel like I go the other way about it.

Whenever I try and communicate with spirits, or even just pray, I end with a thank you, and often a kiss. The kiss is something that came to me while praying when I first started out my journey with Paganism, and is my way of offering love back to the world. It has inadvertently become a big part of my craft. I kiss my ring after asking for protection, kiss my divination tools after using them, and kiss the air to seal my prayers. I have a tattoo in memory of my great-grandmother, and I kiss that as a way to honor and show that I miss her.

Again, it comes back to how I feel these things should be approached with respect. For me, another part of that respect can be given through offerings, so I thought today I would give you a list of some of my offerings:


  • Drinks: This one was how I started out with offerings, because its usually something I have readily available. Whenever I would make tea, I would pour a little in my offering bowl. I would also leave small amounts of wine when I had that, and I have read recently that a lot of people leave out water for the spirits.

  • Food: Like drinks, this is good because its readily available. I don't really use food a lot as an offering, just because its never really felt like something that I wanted to offer. The only time I really used food was when I wanted to leave an honoring for the aforementioned great-grandmother, in which case I offered a food that I knew she liked. 

  • Incense: This is the type of offering I have been doing lately, just because I have collected a lot of incense and wasn't burning it nearly as quickly as I thought I would.

  • Body: No, I don't mean offer up your body (unless that feels right to you), what I mean is use physical actions as an offering. For example, lately my favorite offering is dance. I will turn on a song and dance in their honor. I like this a lot too, because it is a way of offering things without needing any actual thing. This means it can be good for people who can't afford physical offerings, or who are still 'in the shadows' and are unable to leave things out.  It doesn't even have to be dance, you could run in their honor, sing, do yoga, etc.

  • Art: I have yet to do this, because I am not very good at art, but I have known people who do devotional drawings or poems as a means of offering.

  • Pretty Much Whatever You Can Think Of: If you think it would be something good to offer, chances are, it is.You can usually tell if its been accepted or not, and if you are unsure, you can use divination to confirm. I have friends that use pendulums to help determine what offerings they should leave. One friend asked what that spirit would like to be offered, and it told her lemons, so whenever she gets a lemon with her water at a restaurant, she uses it as an offering. Another friend offers Swedish Fish, so it really depends on you, and your relationship with who you're making offerings to.
I hope this helps give you some ideas for possible offerings, and again, its just a few things I have done, or have seen others do.

Thanks for reading, and have a great week!

Saturday, March 28, 2015

Altar Terrarium

So a while ago, there was a post floating around on Pinterest with an idea for creating an altar out of four glasses, with each one representing the elements. You can find that pin here:

https://www.pinterest.com/pin/325736985520228599/

As you have seen from past altar posts, I have adopted a similar idea by using four jars  and having each one contain something that reminds me of that element. I use ash/chili powder for fire, feathers for air, water for water, and a small terrarium my little sister made me for earth.

Well after almost a year, I have officially pronounced the terrarium dead. Here's what the old one looked like:


 Pretty Dead

So I figured it was time to remake my altar terrarium. When my sister made the old one, she put this little nut she found in it, and I decided to keep it to help tie the old one to the new one. I also kept it because it looks really cool, kind of like a heart or a skull.


After pulling that out of the old terrarium, I went down to the arboretum at school (which is lately where I've been spending all of my time). I thanked the earth for what it had given me, and then I emptied out the jar. This is how the jar looks when its empty:


After emptying the jar, I put down a layer of gravel so that there is a drainage space in the jar:


 I tried to mix up the size of the rocks used so the rocks on top are a bit larger than the ones on the bottom of the layer. After that had been done, I went to a spot I was sitting at the other day, because I knew there was moss there that I could use.


I thanked the earth again, and took a small bit of moss, and carefully arranged it in the jar. Its easier to do it in small bits, instead of trying to fit a whole piece down in the jar.


 Then I came home and carefully wiped the dirt from the inside of the jar so I could see inside of it easier. After that, I positioned the nut from the previous terrarium, as well as a piece of clear quartz.


That's it! I hope it will be happy on my altar. In addition to this terrarium, my friend made me a cactus terrarium as a gift the other day, and I love it! Here's a picture of the one she made, but it doesn't do justice to how it looks in real life:


 She recently opened up a shop on Etsy to sell her handmade witch-y items, such as wire-wrapped crystal pendants. If you'd like to check out her shop, it can be found here:

https://www.etsy.com/shop/CostumeWitcheries?ref=shop_sugg

Have a great day!

Monday, March 16, 2015

Mini Spirit House

I am home with my family for Spring Break! This means spending lots of time with my littlest siblings. My little sister wanted to have a day with me, and so I told her we could get something from Michael's and paint it. She found these mini-bird houses she wanted to paint, and I got one with her.

While I was in the store, I remembered that I had seen a few things about 'spirit houses' recently, and wanted to paint mine to be a spirit house, rather than just a decoration. I did a little research into spirit houses to make sure that it wouldn't be culturally appropriative, and it does not appear to be so.

Wikipedia describes spirit houses as: "...a shrine to the protective spirit of a place that is found in the Southeast Asian countries of Burma, Cambodia, Laos, and Thailand"
(http://en.wikipedia.org/wiki/Spirit_house)

Since I just set up a sacred space in a forest, I thought this would be a good way to honor the land, as well as appease any spirits that live there.

Before Paint

It is quite a bit smaller than normal spirit houses, but I didn't have the money for a more extravagant one, and I think the spirits will appreciate the gesture.

After Paint

I made this house to honor nature spirits, so I wanted to keep a nature theme with it. I made the roof look like a sky, and painted the house green, with mushrooms circling the bottom to represent earth/ the forest.

Here you can see the mushrooms a bit more clearly

I really like how it turned out, and hopefully the spirits will too. I am going to add a clear coat to it, so I can hang it outside without worrying about the rain affecting it. I may also add a few bells to it, to make it feel more welcoming,

I will also come up with a dedication or prayer or something to say over it before I hang it up.

Thanks for reading! I hope this Monday finds you well.

Wednesday, March 11, 2015

Creating a Sacred Space

I woke up this morning having absolutely nothing to write about. I finally settled on venturing back into the arboretum to play my ukulele and leave some offerings, and write about that.

So I grabbed my uke, some bird seed, and a blanket and walked down to the arboretum. I found the circle I was considering using, but with all of the melted snow, it was a muddy mess.

I walked up the hill to a reflective area set up in the arboretum, and as I began to setup my stuff, I received a text from my witch friend (I'll call her L, because I feel like there are a lot of people I talk about, and it can be hard to distinguish,) asking if I wanted to go for a walk in the arboretum. This was extremely coincidental, seeing as I was already there and I told her that of course she could join me.

A few minutes later L arrived, and we talked for a bit, until we discussed the circle she showed me earlier that week.

Remember this one?

Anyways, L's friend had made a circle near this one to combat any negative energy. I asked if I could possibly use this space for Esbat/Sabbat rituals, but I told her I felt weird using it, since it wasn't a space I had created. 

L mentioned her desire to create her own sacred circle in the arboretum, and I told her that we should make one while we were already there!

We wandered a little off the path and found a natural circle of trees which we decided to use. We moved some dead logs to better define the outline of the circle, and pushed all of the dead leaves out of the circle and onto the perimeter. I set a stone in the center to place candles on.

Here is a picture of it- but it doesn't do it justice

Some plants we found growing beneath the dead leaves

Once we set up the physical space, we left to grab some of our rituals tools, such as incense and candles.

We returned with three of our friends as the sun was setting and we performed the ritual right as it grew dark.

L created the ritual, and so I don't feel comfortable posting it here as it is not strictly mine to share. But I can say that it was beautiful, and everyone agreed that it felt very safe in the circle.

I will return tomorrow to work on my craft, and to better define the outline as well as help my friend with his first bit of spell work.

I am very pleased with my sacred space, and I am excited to begin using it!


Saturday, March 7, 2015

Wheel of the Year

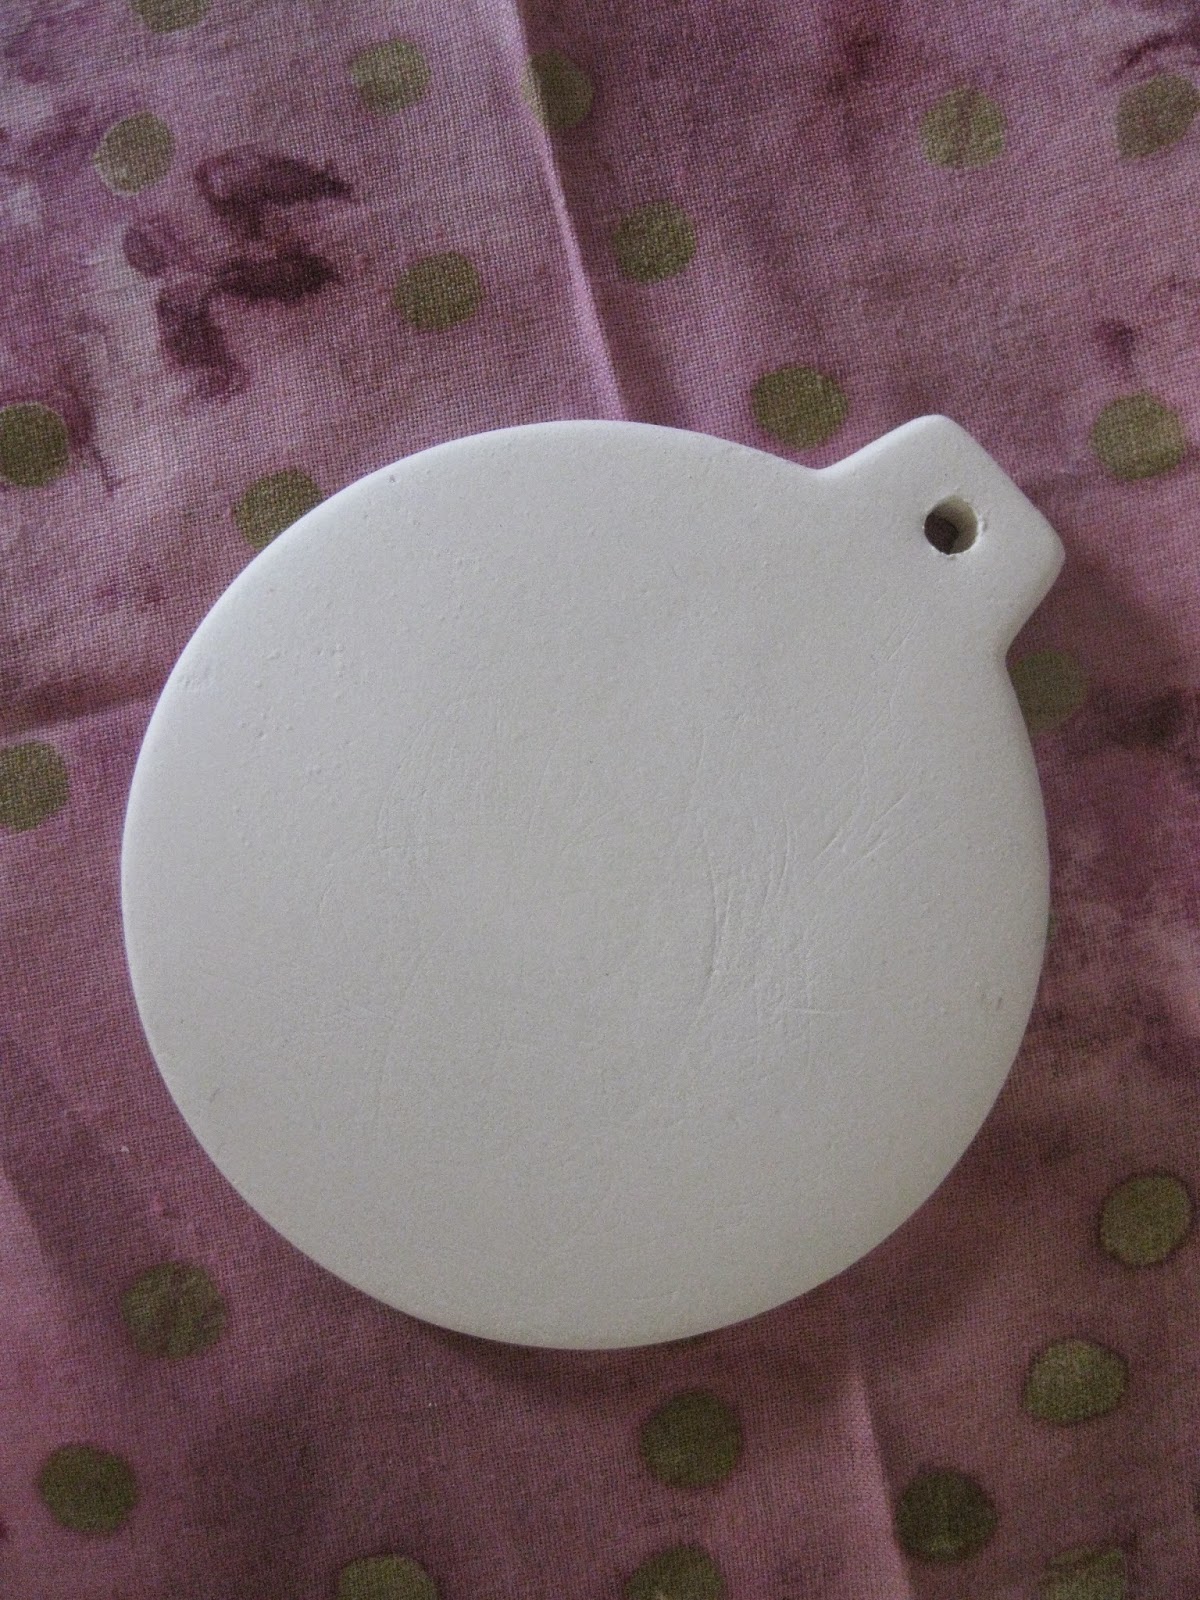
Way back in November, I went to a Paint- Your- Own Pottery Studio for Small Business Saturday (the small business version of Black Friday) and they were giving each customer a free ornament. Since I went with my boyfriend, we got two of them, and he gave me his.


I took mine home to design later, instead of painting in the studio. I knew I wanted to decorate it for my altar, but I wasn't sure with what until a few days again. I decided to put the Wheel of the Year (or the Sabbats) on it, so I can turn it as the wheel turns, sort of like my own way of cycling through the seasons.

First, I traced out what I wanted with pencil. I used a spaghetti jar lid to get the circle on it, because I am atrocious at drawing, especially when I have to make a perfect shape, like a circle.


I used a ruler to create eight sections, one for each Sabbat. Then I decorated each segment with things that remind me of that holiday, such as a May Pole for Beltane, and skulls for Samhain. Once it was traced, I outlined it with Sharpie:


And then colored it with colored pencils:


I'm very happy with how it turned out, and it looks better than I expected it to. Right now its sitting on my altar, with Imbolc/Ostara facing up.

I also created a very early Ostara altar, but I'll do a post on that once we get closer to the Spring Equinox.

So that's my "Wheel of the Year"! I still have another one of the ceramic ornaments, and I was thinking about doing a God and Goddess theme on it, maybe with a Moon and Sun or Moon with Antlers or something.

Do you have any suggestions for what I should put on the second one?

Wednesday, February 18, 2015

DIY Pagan Prayer Beads


Today, I tried my hand at making a set of prayer beads. I have felt a sort of calling to make a set for a while, and last night I just felt like tomorrow was the day to make a set. I just realized that tonight is also the New Moon, which I think is pretty cool.

I looked at several varieties of prayer beads, and decided to go with one similar to a Rosary, because I liked the way it trails at the end. I have also seen a lot of Pagans use prayer beads in that are in a straight line, but I wanted mine to be necklace-esque because I liked the idea of my prayers coming full circle.

I used two different colored beads because 1) it reminded me of night and day, and 2) I wanted one color to signify a time to give thanks (gold) and the other to pray for someone/send positive energy to someone (black). I ended it with the big white bead because it reminds me of the Full Moon (Goddess) and the Stag to symbolize the Horned God.

It was pretty difficult to make them, but once you get the hang of tying tiny knots, its goes fairly quickly. I made this from scratch in a few hours.

Materials:
Thread
Beads (I used two strings, because I wanted two different colors)
A large bead (its called a Guru Bead for Malas)
Some more small beads to go after the large bead
A charm
Scissors
Patience

First, you need to tie a knot in your thread. Leave lots of room at the end, this will be where the larger bead and charms will go. After tying the knot, add one of your main beads, like so:


From there, you tie a knot to keep the bead in place, and then repeat the steps for all of your beads. Try to keep the beads close together, but if you want to run them through your fingers more, a little space might be better. This step is what messed me up, a lot of my spaces are uneven, but hey, its my first try. After adding all of your beads, it should look like this:


Once you've done that, you need to take both of the threads at the long end, and thread them through your large bead:


Pull it tight, and knot it to keep it in place. Then you can add your smaller beads:


And guess what happens next? That's right, knot it again. After knotting it, you add your final charm by tying it onto the loop of the charm. Again, try to keep it as close to the beads as possible:


And that's it! I hope this helps people looking to make their own set. You could customize the colors for whatever deity you'd like.

Now I'm off to cleanse it! Happy New Moon!